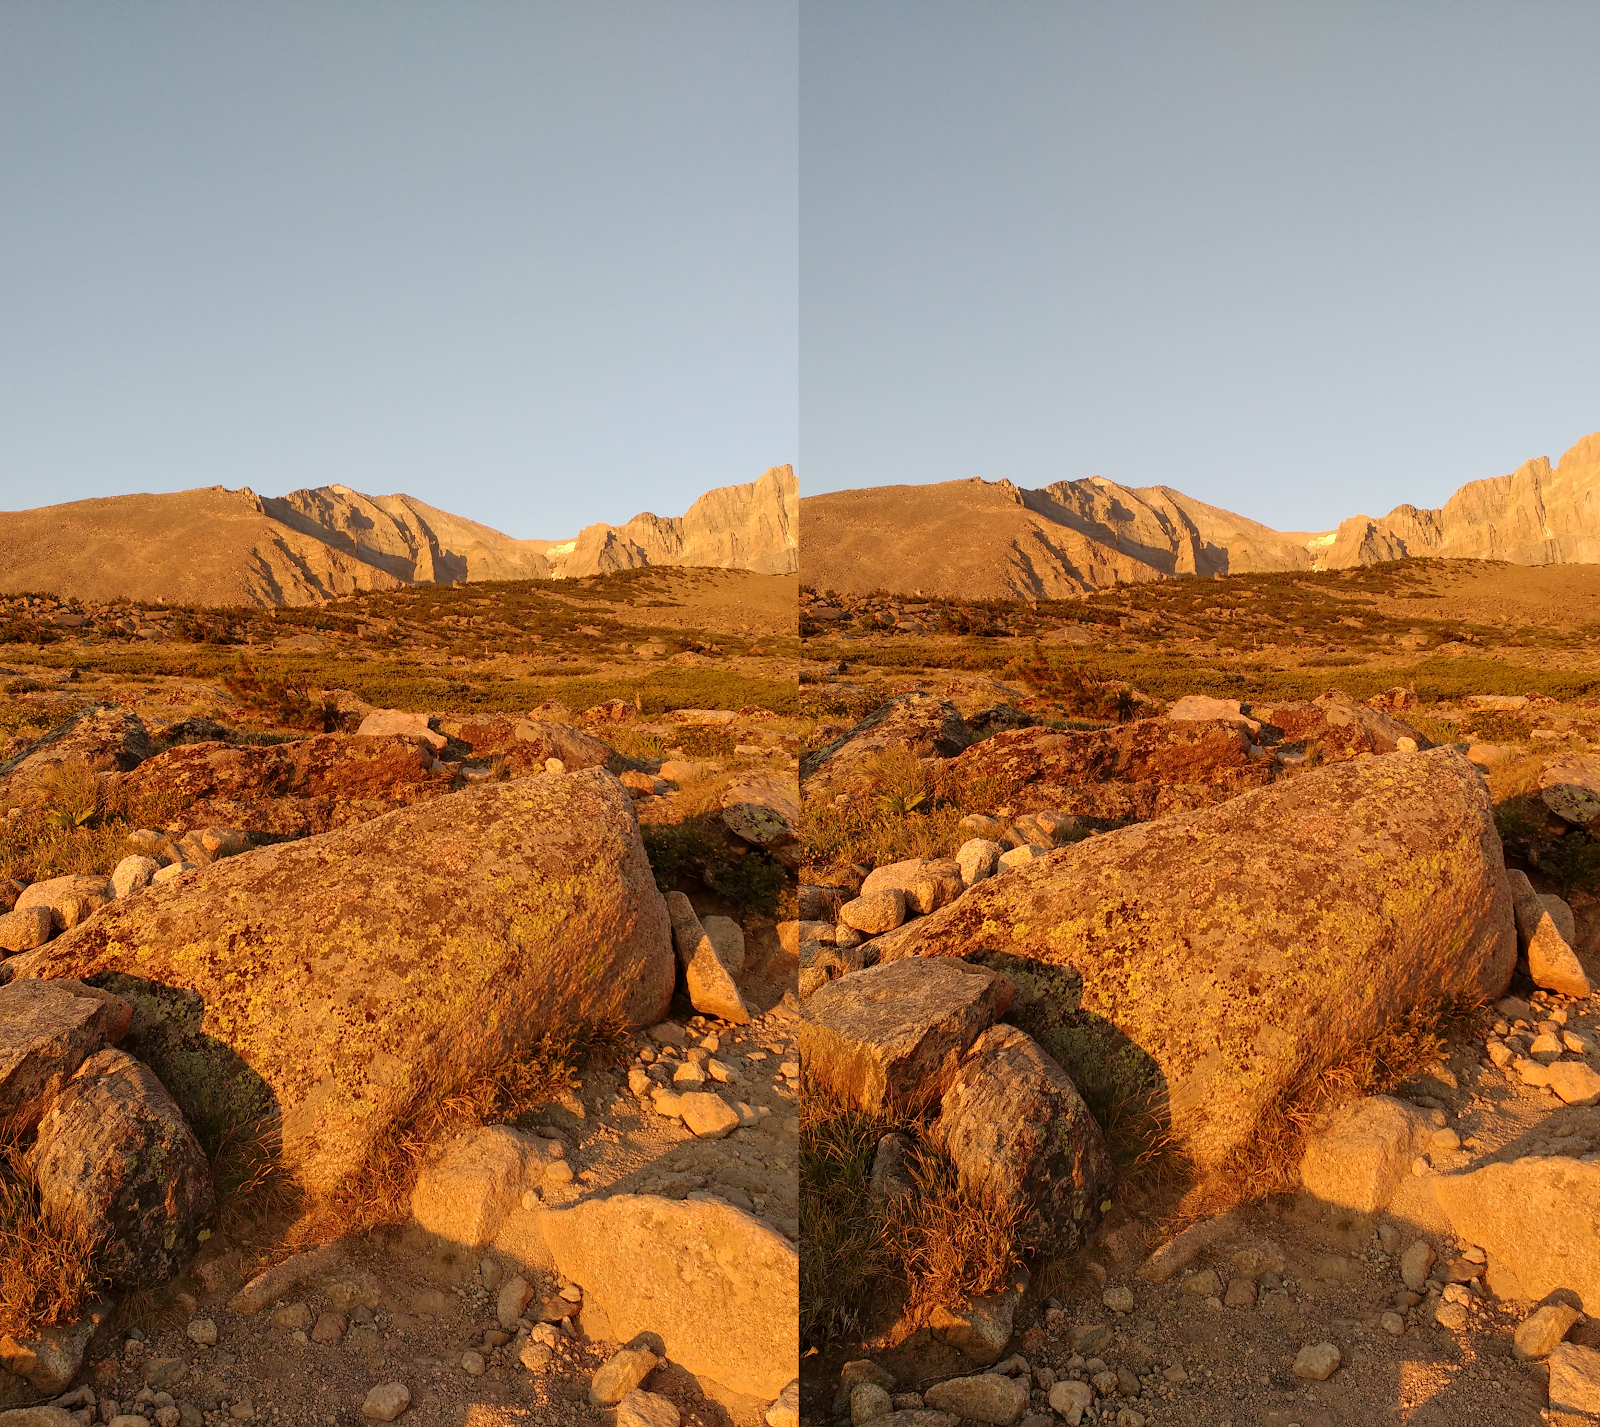
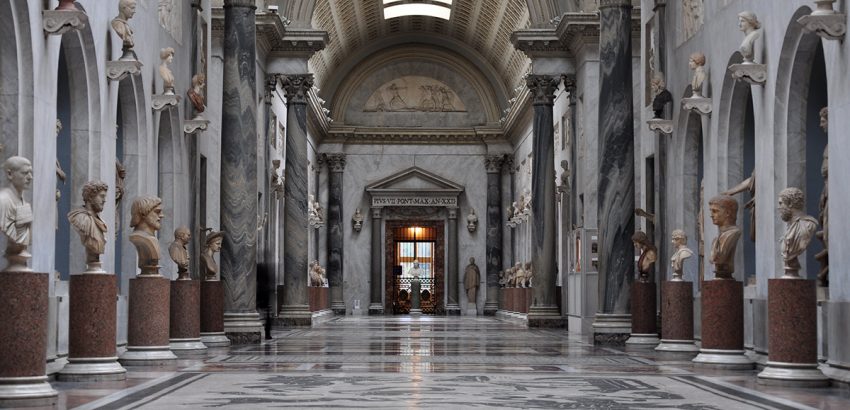
(otherwise known as stereoscopy)
By Montague Jacobs, yr 11
This information, and photography, have been provided by physicist and artist Joey Adams
What Crossview is:
It is an optical illusion taking advantage of your binocular sense of depth. There are two ways that you can perceive depth; one being logical (for example, when looking at a piece of art you know what is in the foreground and what is in the background due to your experiences and knowledge of the world), and the other being the binocular sense of depth- it is the sense that things are popping out at you. This happens because it is the way our brain processes images taken at two different points (the images recorded by your two eyeballs).
This can be explained by doing a simple depth perception test. Hold your two hands in front of you, with both index fingers pointing upwards. Make sure one arm is fully extended while the other is closer to your body. Now align the index finger closer to you to be just barely to the right of the other. Now wink your left eye. Now the right. The finger closer to you will move much more than the one farther from you. This can be simplified into the images of faraway objects that look essentially the same to each eye. The images of objects that are closer to you will be perceived much differently.
Essentially, photography has no depth, but we perceive it to because our logical brain is able to apply it to the picture. With Crossview, your binocular sense of depth is re-engaged.
Here are some Crossview photos, and at the bottom of the page there will be a guide on how to comprehend it:
How to:
Step 1- focus on something in the room you are in. Then keep that object in your sight, but unfocus your eyes. The feeling should be as if you are crossing your eyes but without the overlapping of images. Practice this a couple of times.
Step 2- Zoom in on one of the images above (ideally to where it takes the full size of your computer)
Step 3- Cross your eyes until both images perfectly overlap.
Step 4- Focus your eyes on an exact point, and keep them there until your eyes can render the image.
Step 5- make your own images by taking these two photos a small distance apart but on the same height level, put them side by side and flip them so the left image is on the right side and the right image is on the left.


